Sunday, January 1, 2017

Stop Action Switch

After a year and a half hiatus from this blog, I return. Even amidst my studies as a seminarian for the Archdiocese of New Orleans at Notre Dame Seminary, there are times when I would like to start another "Opus," sort of speak. However, this unique hobby of mine requires both time and money both of which are sparse right now. Be that as it may, when the opportunity arises to design and make something with my hands, I run with it!

This has happened two times. First was a simple bookcase for my room which would rest on top of my dresser. I do not have a picture at this moment as I am in Florida and not at the seminary. It is nothing special, though I did surprise myself when I placed the level on the finished shelf and it was just that - level!

The second time is the topic of this blog entry. It began on my birthday this year - November 19th. My best friend and mentor gifted me an old organ stop. Again, I do not have a photo of it as I'm currently not at the seminary. More to the point, I placed this stop - which had much of its shank attached to the stop itself - on my desk. As I began finalizing my papers, my eyes would be distracted by this stop and my mind would then get distracted. What can I do with this stop? A thought popped into my head - let's design a lamp where this stop turns it on/off.

This idea then developed into creating mechanical actions from the stop to the light to turn it on/off. This would be attached to the side of a freestanding bookcase. Though one solid unit, most of the bottom half has no shelves, thus allowing my chair to go up against it. Above my chair would be the first shelf. Below that shelf would be a light - the same light this stop would turn on/off.

Bookcase with prototype action attached

Upon my arrival back to my parent's house in Florida, and doing some brainstorming with my dad, I decided to make a prototype to see if I can even make this work. Looking at what left over pine I had from previous models, I went back to the drawing board and came up with this prototype.

Isometric View

"OFF" Position (Stop Canceled)

"ON" Position (Stop Engaged)

Being me, I went to work. The idea is simple, the inspiring stop would be attached to a horizontal tracker. The movement would transition from horizontal to vertical movement with the assistance of a pivoting "L" square. That vertical tracker would be attached to a connector piece. This piece is pinned to another connector piece which is secured onto a traditional on/off light switch. Pulling out the stop would turn on the light. Pushing (or canceling) the stop would turn the light off. As my mind began racing, so I became obsessed with completing this project. Slowly is came together.


IMG_3647
CLICK ON THIS PHOTO
to Watch the Mechanical Action

Once I got all the mechanical parts working, it was time to paint. Only the backings (or shell) of the prototype will be painted black so as to better show off the mechanics of the project. Hooking up the electricity was rather simple. However, I cannot take credit for that as it goes to my dad. Electrical wiring is not my strong point. We took an extension cord, split one side of it and hooked it up to the switch. BAM! Plug in the extension cord, plug something into it, and you got the finished product.


"OFF" Position (Stop Canceled)

"ON" Position (Stop Engaged)

Back Detail of Wiring
All that I need to do now is actually replace the "Stop" on this prototype with the ACTUAL Stop which inspired this little project. This will have to be done when I'm back in New Orleans as I didn't bring it with me to Florida. All things considered, I'm happy with the result. Every part was made by me - including the wooden dowels - utilizing a table saw, scroll saw, and drill press.

IMG_3660
CLICK ON THIS PHOTO
to Watch the Light Turn On/Off

Once the prototype is 100% finished and is placed in its apppropriate spot in my room back at the seminary, i will make another post.Until next time...

Wednesday, August 5, 2015

Pipe Art Revealed!

Alongside the construction of Opus IV was "pipe art" project with ten (10)  of the other pipes. I originally intended to VLOG (Video- Blog) this project. However, due to time constraints, I will blog about it and use a few GIF along with JPEG files for your viewing pleasure.

Since these ten pipes are to be gifts to family, I could not document the process as I went along in real time. So, now that they are all done and given to family, I can now reveal this side project. First, what exactly is this project?


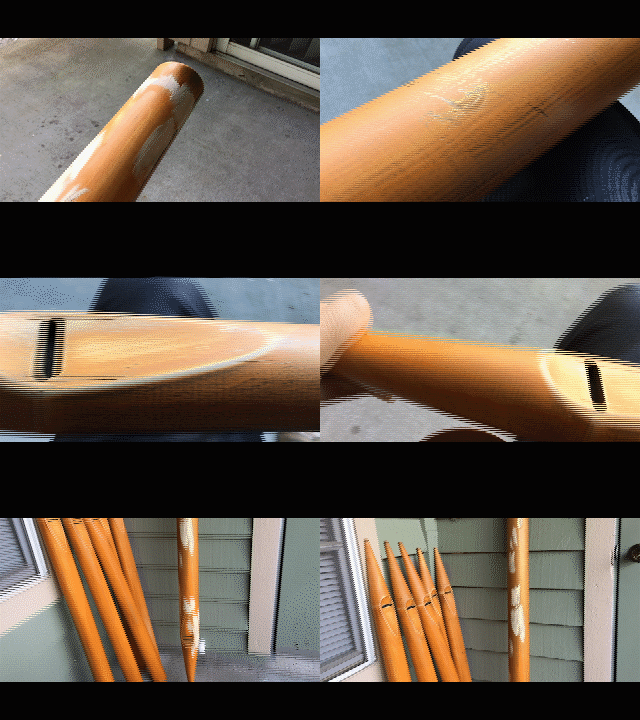
If you recall, these projects started with 25 old fake organ pipes. I restored and used 10 of them within Opus IV. For this project, I will use 10 additional pipes from this set. Each pipe will be painted and decorated according to the person I will be designing the pipe for. They can be hung on the wall and displayed. In order to do this, I needed to plan one side of the pipe (opposite the mouth).

 photo 01 - PIPE PREPARATION.gif

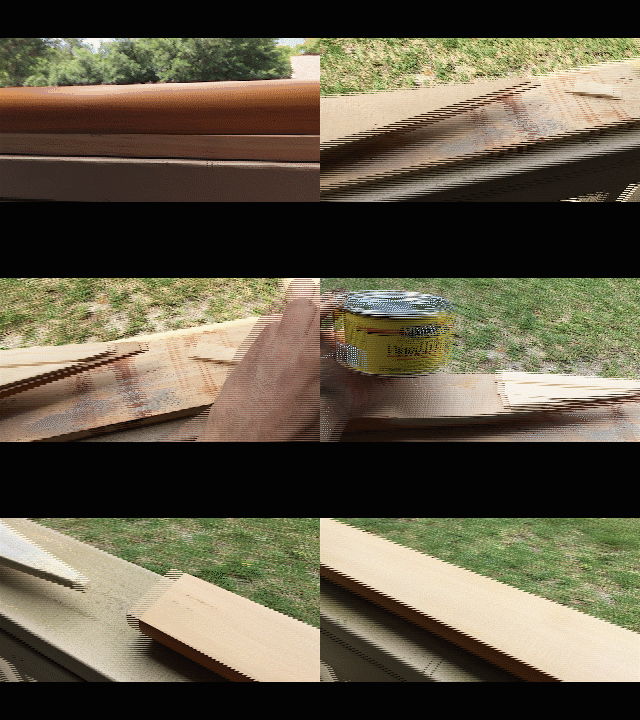
I used a ban saw to do this. However, it was very tricky and most of the pipes needed to be patched up and leveled so they can rest flat on the wall. Wood epoxy came in handy and some shims to repair the cuts that were way off.

 photo 02 - PIPE REPAIR.gif

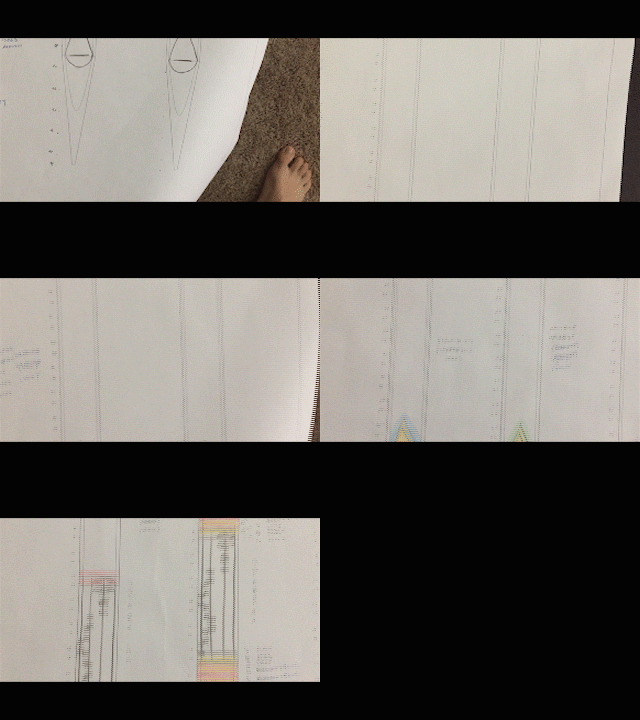
After all the pipes were repaired, sanded, sealed and primed, it was time to design each pipe. Instead of going right at it, I decided to print out a scaled blank pipe and use coloured pencils to figure out what design I will paint on each pipe.


 photo 03 - STENCIL DESIGN.gif

Each pipe had a general layout. Two horizontal bars divide the pipe into sections for various designs. These are common for all ten pipes. In order to be somewhat efficient, I decided to paint each pipe their base colours. From there comes the more labour intensive "stenciling."

7 original pipe, three more were added later. Mine is in the center.
The stenciling involved lots of tape, a template, sharp Xacto blade and lots of patience. I ran into some bumps along the way. Most of it was touch ups. Since I'm using spray paint, that became a real pain the further down the road for each pipe. The final touch was gold leaf on the mouth (like Opus IV) as well as horizontal bars capping the horizontal strips. Here are the progression of all 10 pipes.

We shall start with mine. Actually, three in total. For the first one, the base color was an off-white with a light blue (or periwinkle as the spray can named it) accent. The design at the top is Gregorian neumes depicting the word "Gloria" from the setting in the Miss de angelis. The Maltese Cross represents my family's heritage.


** ACCIDENT **

After leaning this pipe up against the wall, it slid down and hit Opus III!! Thankfully, Opus III was not damaged. Surprised really as this pipe as some weight to it. HOWEVER, The sharp point of the molding put a nice, dime sized gash into this pipe! It should be obvious...I was furious. After calming down, I was able to patch it to the best of my ability. Suffice to say, this pipe just has a little more character.


The two colours of my second pipe consist of a deep red and green with lots of gold leaf spread throughout, including the Maltese cross.


The colors of my third pipe are that same deep red with a dark blue and a touch of that same deep green as my second pipe. I was a little creative with the fleur-de-lis on this pipe. Like the second pipe, I wanted to use the remaining gold leaf I had...so I went for it!


Second is my dads. Primary color is this purple-ish colour. Spray can didn't list a name, but it's almost a dead match for a Fender guitar colour I found online. Secondary colour is an off-white. Appropriately, A Fender guitar and logo appear at the top with the Maltese cross toward the bottom.


Third would be for my close friend, Chris. Opus C, if you recall, was designed for him as well. His design resembles mine. However, Secondary colour is purple and instead of a Maltese Cross, you have the Fleur-de-lis.


Final residing place
Fourth and fifth are for my grandparents along with my grandfathers uncle and his wife (My great-great uncle), respectively. Both have a similar design, just different colours.


Sixth and seventh are for my dad's siblings. Both follow a similar design but different colour scheme.


Last but certainly not least, is my sister's pipe. It is her creativity that inspired this pipe art project to begin with. Her's, however, was the most difficult to finish. Primary due to CONSTANT touch ups. Sort of like a, "one step forward, two steps back." However, I'm very happy with the result. As you can see from the progression, some colour's changed mid way.


These ten pipes have been a labour of love. For an amateur, like all that I have done, I continue to impress myself with the creative work that I have completed.

Until next time...

Wednesday, July 29, 2015

Opus IV...COMPLETE!!!

That's right. You read the headline correct, this beast of a project is now 100% COMPLETE! Both cabinets look great together.


Opus IV will reside with my dad. Once delivered, I'll be sure to take a picture. The only thing I haven't done is rig the lighting inside. However, that can be done at another time.

Stay tuned for my next post finally revealing my "pipe art" project.

Until next time...


Monday, June 8, 2015

So...Just Where Are We At?

So much for weekly summaries...It's been a month since my last post. However, that finish line is getting closer and closer. So, just where are we at...? Oh, yes...grills and molding.


As seen above, I glued in place each grill. After the glue dried and turned the cabinet right side up, the grills don't completely meet at that 45º angle. This was expected and already have a solution to put a small piece of molding on the front to cover that gap. Next step is the molding which will be located in three places: The top will have crown molding, the bottom will have a decorative trim and then the sides will have a decorative strip to hide the screws and connect the top molding with the bottom.

As for the bottom molding, a notch needed to be cut out so as to but up flush with the side.  After cutting each piece, including the mating 45º angle, I slowly removed material to allow the proper fit.


That was simple enough. Then came the crown molding which is always the pain. I quickly learned that I did not have the proper tools to even cut the correct 45º angle. I had a table saw...I needed a chop saw. So, I utilized my resources and found one and made the appropriate cuts. Thankfully, I had just the correct amount of molding left to get the four pieces I needed.

I left each piece about 1.5 to 2.0 inches longer than necessary. This allowed me to make the correct length cut when fit against the cabinet.


Next step was to dry fit the crown molding against the cabinet on top of a "skin." Yes, that word I used a lot back during Opus I. Just a cap used to hide the screws and inside gap created by the crown molding. Think of it as the ceiling. After getting and cutting those skins to the correct size, I glued the molding in place, this creating a hat, of sorts. This will make it easier to stain as one piece.


Next, all pieces of molding need to be stained the walnut colour of the cabinet. This is where I am currently at. However, I've still made some great headway...


Another necessary task was to finish the back door. Only piece missing was a handle created from a 3/8in dowel. It became apparent when taking these cabinets back and forth from my parents house a few times that these doors tend to fly open when gravity gives it the opportunity, So, after thinking a bit, I came up with a crude, yet effective, solution.


At the end of the dowel, drill a whole and stick a smaller dowel through to create a lock. Genius, right! All I need to do now is paint the inside black and stain the outside.


Well...worth the month wait, right? Very happy and impressed on how it's looking. Yes, it's got its imperfection...but nothings perfect. If you put your mind and heart to something, throw some encouragement and wisdom of others, and there's nothing stopping you from accomplish your goal!


Until next time...